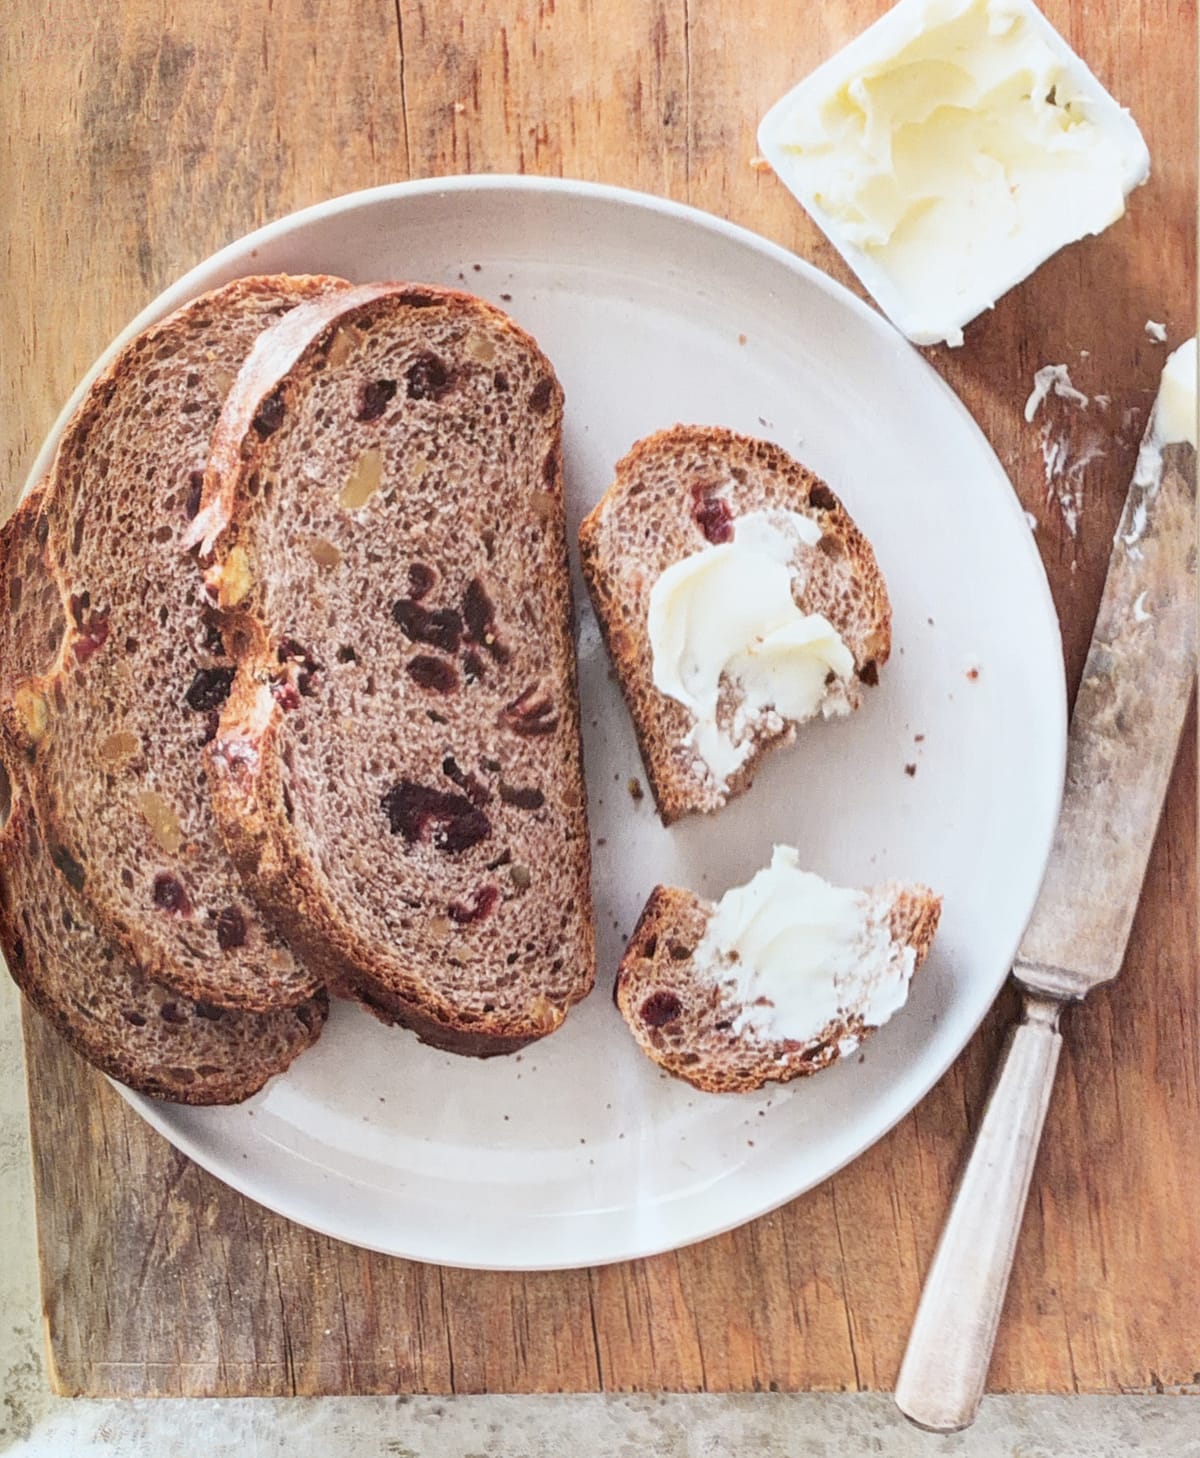
Baking Bonus: Cranberry Walnut Bread
I've been laid up this weekend with a back injury, so I decided to make some bread. This recipe comes from "America's Test Kitchen Bread Illustrated" cookbook, which has proven to be an excellent resource for teaching me how to make great bread at home. The book also has a very thorough list of "essential equipment", although it's worth noting that America's Test Kitchen typically does not completely factor in cost when recommending cooking tools- they just say what they think is best, cost be damned. In other words, this shit ain't cheap, but I'm OK with this philosophy. I'm very particular about what utensils make it into my small kitchen so I want the ones that do make the cut to be to-notch. Very rarely do I regret investing in quality tools that I actually use all the time.
Here are the ones that I used for this recipe (and I have owned all of these for 10 years or more):
The Kitchen Aid Pro Series 7qt stand mixer. This is not to be confused with their standard tilt head stand mixer- this one has a much stronger motor and a resulting much higher price. But it's worth it, in my opinion. Among other features, you can mix dough for two loaves of bread at once.
The OXO Good Grips 11lb kitchen scale. I use a kitchen scale every single day- whether it's for making coffee or weighing ingredients for recipes. Once you know the weights of some key ingredients, you can put pots and mixing bowls right on the scale, and add ingredients by weight. The first time you don't have to clean olive oil out of a 1/4 cup measuring cup, or leftover honey in a tablespoon you'll fall in love with this convenience. In any case, it's almost impossible to bake accurately just using volumes. Good baking requires the accuracy that only a scale provides. It's also a way to distinguish quality baking recipes- they always list ingredients by weight.
Thermo Works Thermapen. You need an instant thermometer if you are going to bake or cook seriously. Burgers, bread, quick bread, roasts, chicken, pork, custards...they all can be cooked correctly (and safely) with an instant read thermometer.
On to the recipe. NOTE: there are three pictures in the Paprika file that include helpful step by step photos.
Recipe
Cranberry-walnut loaf
Description:
Makes 1 loaf
rising time 2 to 3 hours baking time 45 minutes
total time 3¾ to 4¾ hours, plus 3 hours cooling time
key equipment 2 rimmed baking sheets, pastry brush, instant-read thermometer
Ingredients:
2¼ cups (12⅓ ounces) bread flour
10 tablespoons (3½ ounces) whole-wheat flour
¾ cup dried cranberries
¾ cup walnuts, toasted and chopped
2 teaspoons instant or rapid-rise yeast
2 teaspoons salt
1¼ cups (10 ounces) water, room temperature
2 tablespoons packed light brown sugar
1 tablespoon vegetable oil
1 large egg, lightly beaten with 1 tablespoon water and pinch salt
Directions:
1 Whisk bread flour, whole-wheat flour, cranberries, walnuts, yeast, and salt together in bowl of stand mixer.
Whisk water, sugar, and oil in 4-cup liquid measuring cup until sugar has dissolved.
2 Using dough hook on low speed, slowly add water mixture to flour mixture and mix until cohesive dough starts to form and no dry flour remains, about 2 minutes, scraping down bowl as needed.
3 Increase speed to medium-low and knead until dough is smooth and elastic and clears sides of bowl, about 8 minutes.
4 Transfer dough to lightly floured counter and knead by hand to form smooth, round ball, about 30 seconds. Place dough seam side down in lightly greased large bowl or container, cover tightly with plastic wrap, and let rise until doubled in size, 1½ to 2 hours.
5 Stack 2 rimmed baking sheets and line with aluminum foil. Press down on dough to deflate. Turn dough out onto lightly floured counter (side of dough that was against bowl should now be facing up). Press and stretch dough into 6-inch square.
6 Fold top corners of dough diagonally into center of square and press gently to seal. Stretch and fold upper third of dough toward center and press seam gently to seal.
7 Stretch and fold dough in half toward you to form rough 8 by 4-inch loaf and pinch seam closed. Roll loaf seam side down. Gently slide your hands underneath each end of loaf and transfer to prepared sheet. Reshape loaf as needed, tucking edges under to form taut torpedo shape.
8 Cover loosely with greased plastic and let rise until loaf increases in size by about half and dough springs back minimally when poked gently with your knuckle, 30 minutes to 1 hour.
9 Adjust oven rack to middle position and heat oven to 450 degrees. Using sharp paring knife or single-edge razor blade, make one ½-inch-deep slash with swift, fluid motion lengthwise along top of loaf, starting and stopping about ½ inch from ends.
10 Gently brush loaf with egg mixture and bake for 15 minutes. Reduce oven temperature to 375 degrees and continue to bake until dark brown and loaf registers 205 to 210 degrees, 30 to 35 minutes, rotating sheet halfway through baking. Transfer loaf to wire rack and let cool completely, about 3 hours, before serving.
Tips TLDR:
I don't like the dark crust you'll end up with if you follow the recipe exactly, so I put foil over the loaf after the first 15 minutes in the oven.