Canning Fruit Preserves
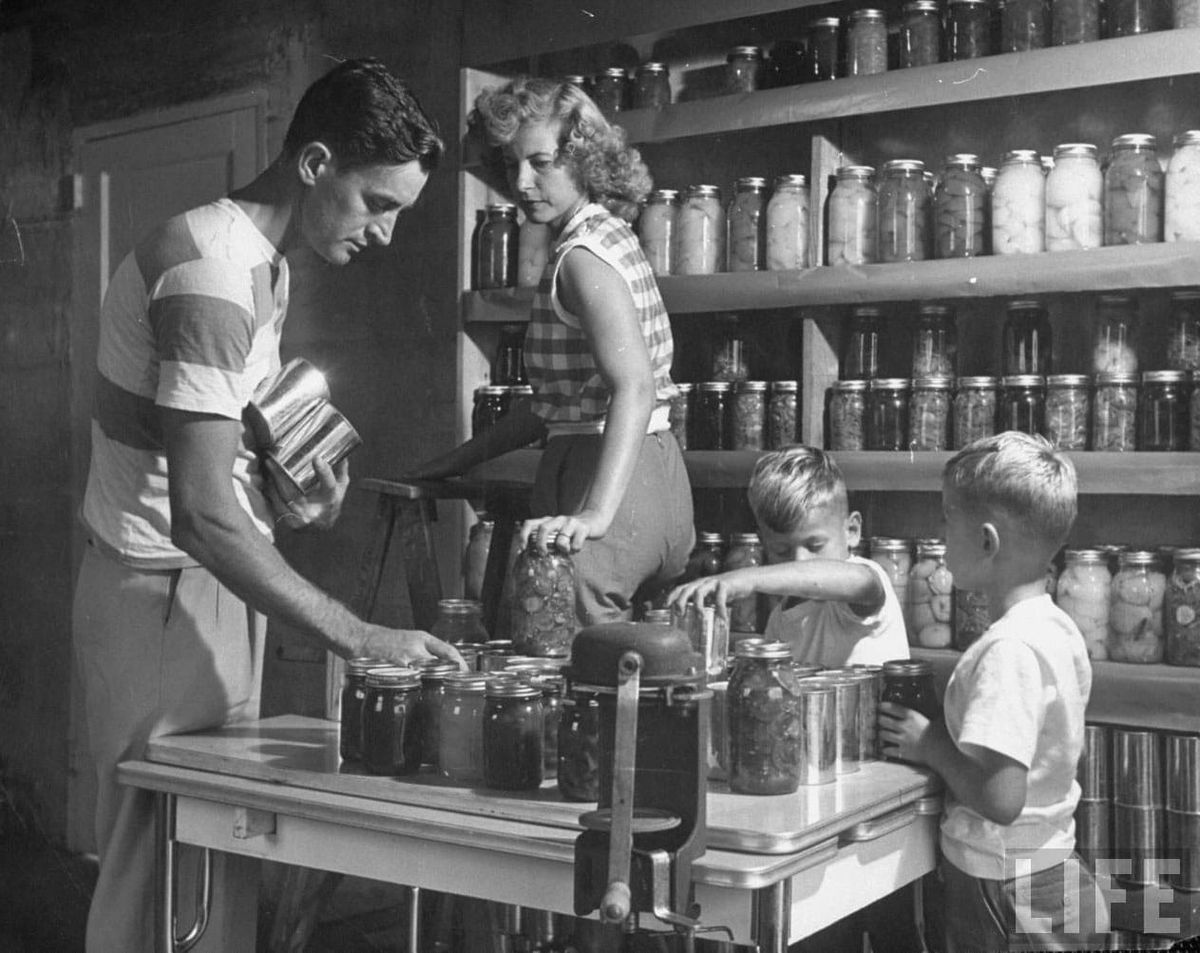
Hi folks. It's summer time here in the Gorge, and with that comes fruit season, where I try my best to eat my body weight in cherries and then blueberries. I also try to bank some of this delightful time of year in the form of canned fruit preserves that will store well into the darkest days of winter.
The recipe I have here is for cherry preserves using the water bath method, but it can be modified for pretty much any type of fruit using the same process with a few tweaks. If you make sure to boil everything correctly and put a good seal on the jars, really not much can go wrong, so feel free to experiment. There are also, of course, a ton of recipes online.
A few notes about my process here. First, I go in batches of seven 8oz jars. I like 8oz because it's a good gift size, and it portions out well for regular use. It take us about 3 weeks to go through an 8oz jar, which seems like the right amount of time for an open jar of preserves in the fridge. This amount of chopped up cherries also fits into a normal sauce pan. Anyway. The recipe as described requires a kitchen scale and will reliably make exactly 7 jars of preserves with a little bit left over that can be put into a Tupperware for immediate consumption.
This is also a "low sugar" recipe and calls for low sugar pectin. To people new to canning, I know 1.5 cups of sugar sound like a lot, but its like half of what normal preserves recipes call for. I also know some of you are like "well, I'm just going to do no sugar because I'm optimizing my health and fruit is plenty sweet". Yeah, thats fine, but you will discover that no-sugar preserves are really not that great, and unsweetened fruit turns brown and gross looking in the jars. But then again, it might pair well with a "no fat" muffin that everyone hates too.
I usually try to set aside a whole afternoon for this, and make 3 or 4 batches. Once you boil the huge pot water for the water bath, it's nice to keep the train moving. If you can get someone to help, one person can be pitting cherries while the other is boiling fruit and putting it in jars.
These canned preserves will last at least year, and I have opened 2 year old jars that were as fresh as the day I made them.
OK. On to the details.
Tools:
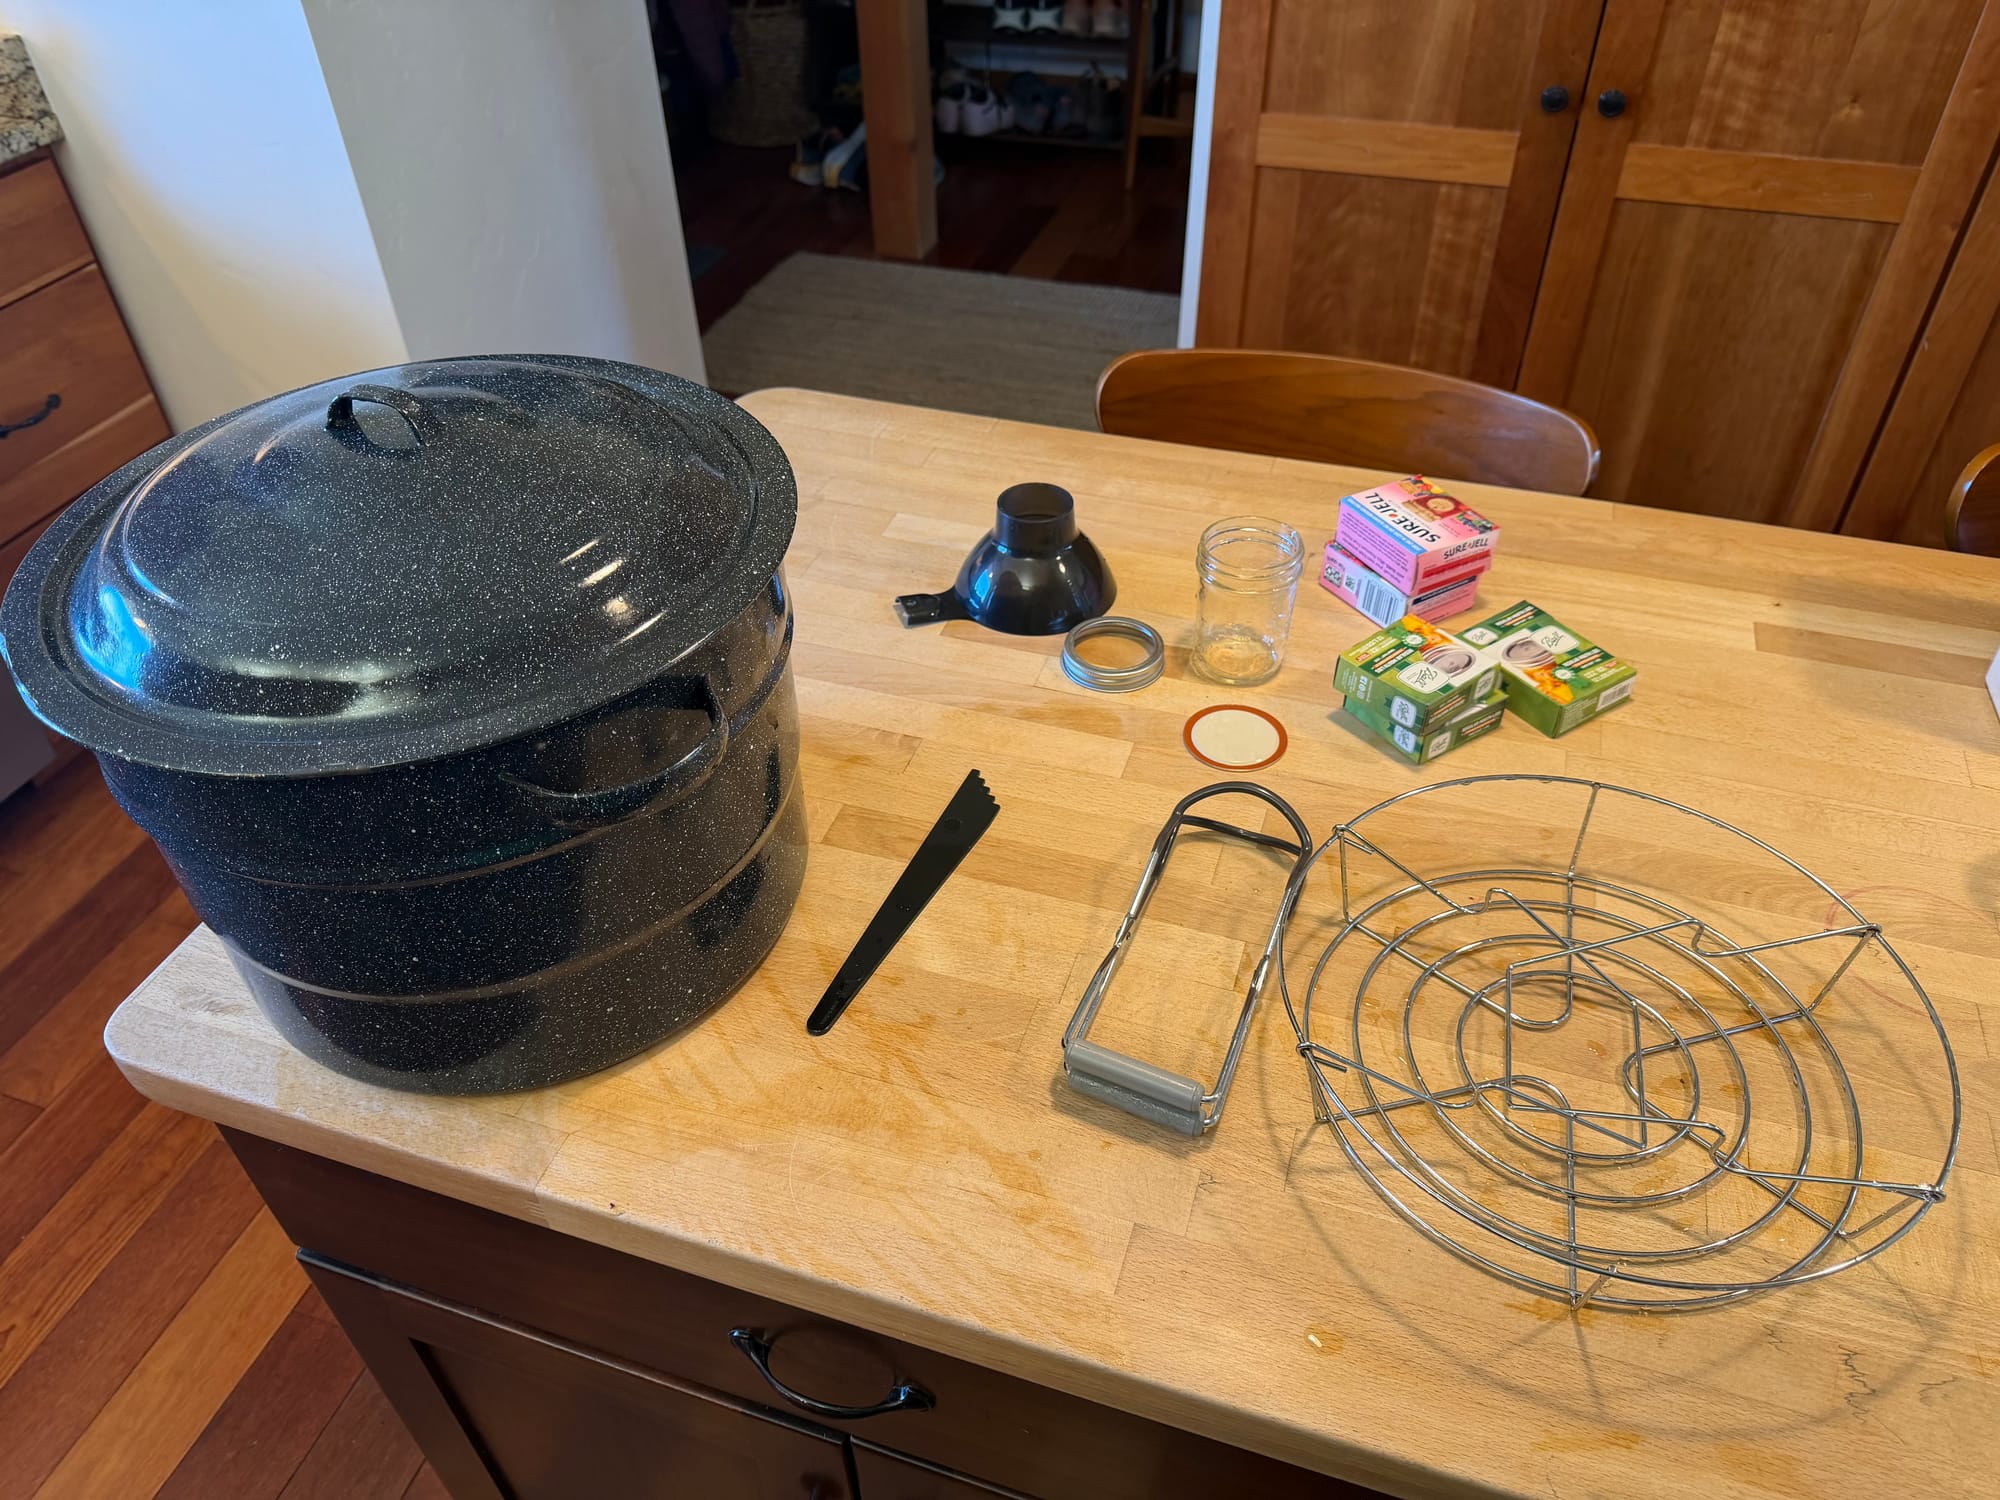
Water bath with jar rack
Canning tool kit
Cherry pitter. I have used 3 different pitters over the years, this Leifheit model is by far the best, but also often sold out this time of year.
Recipe
Cherry Preserves
Servings: 7 8oz jars
Ingredients:
3 lbs 10 oz cherries, including stems, pits
1.5 cups sugar
1 1.75 oz box low sugar pectin
8oz canning jars (7)
Directions:
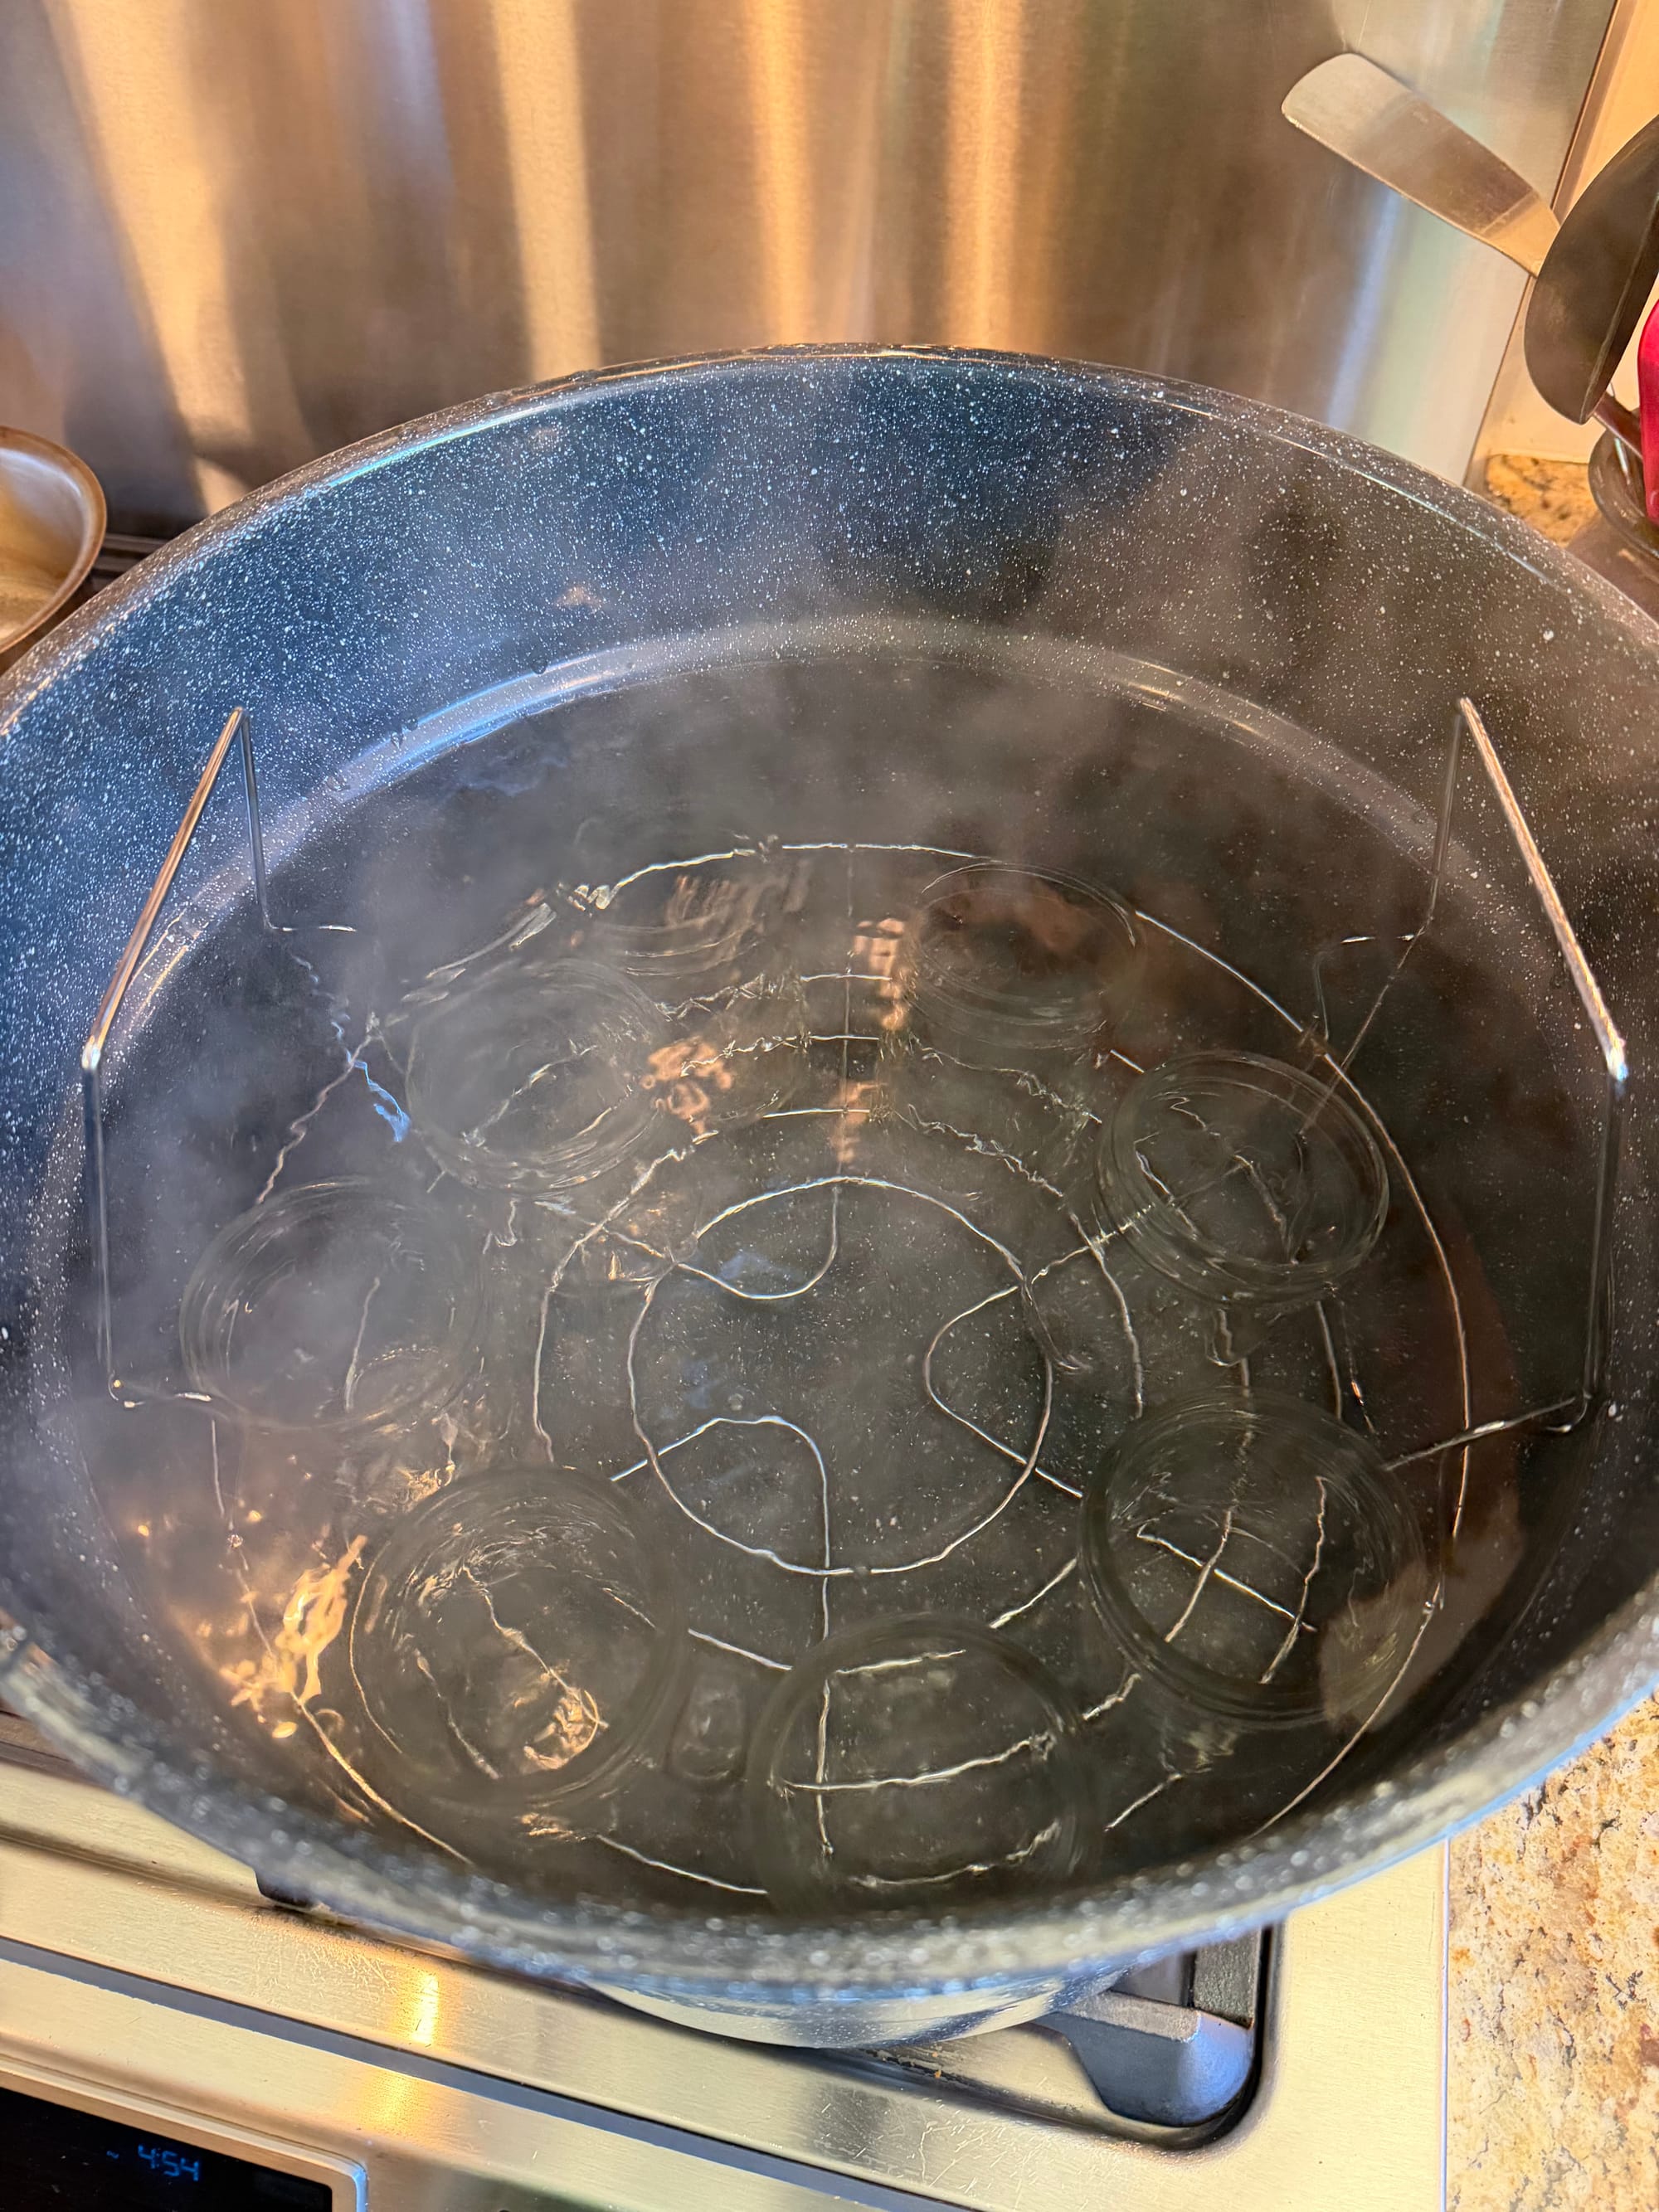
- Fill the water bath with enough water to cover your jars plus about 2 or 3 inches more. Put the rack into the water bath and place seven 8-ounce canning jars onto the rack. Before you fill these with fruit, you want to boil these jars for 10 minutes. I like to time it so the 10 minute boil time is wrapping up just as the fruit is ready to can.
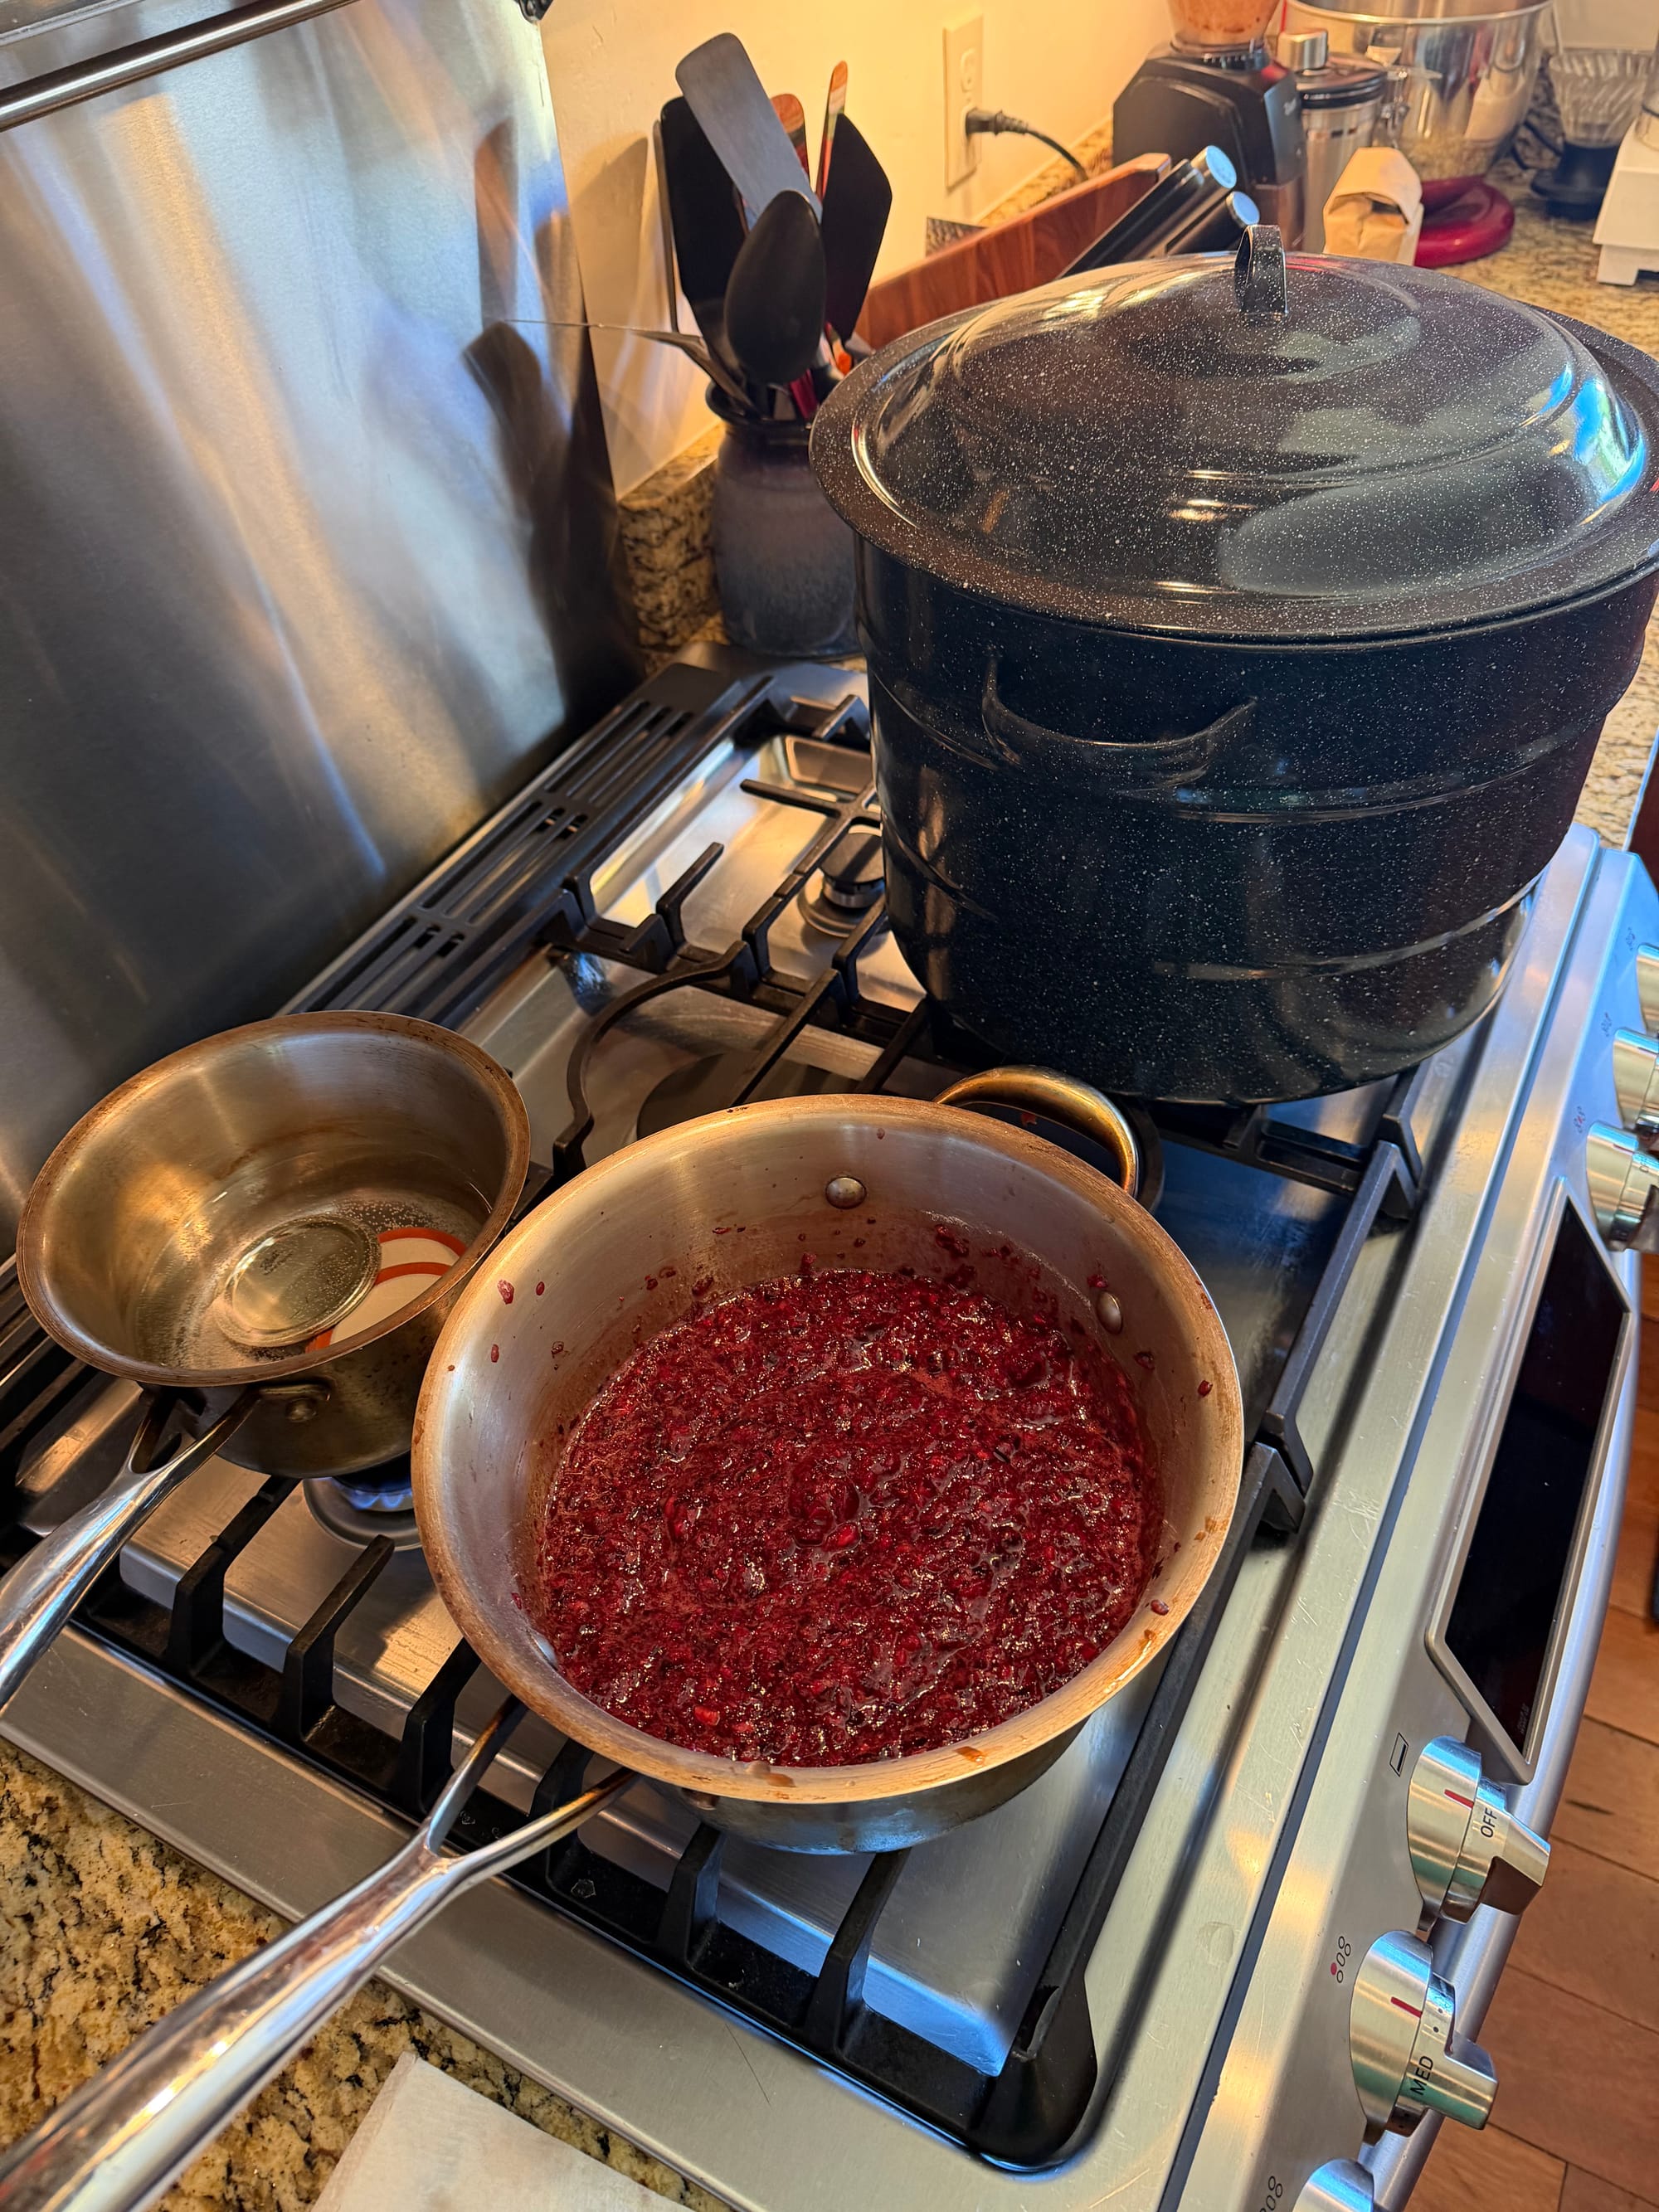
- Meanwhile, put seven lids (the actual lids with the wax seal on it- not the metal rings) in a small sauce pan and cover the lids with water. Bring these to a mild boil and then simmer until ready for use.
- Pit cherries and weigh out 1450 grams of cherries into a bowl. Save any extra for next batch.
- In 3 batches process cherries in food processor until finely chopped. This is a good time to listen for any missed pits.
- empty processed cherries into a large sauce pan and then stir in 1/4 sugar and the box of pectin
- bring cherry mixture to a rapid boil that can’t be stirred down and add remainder of the sugar. Hold the boil for 1 minute.
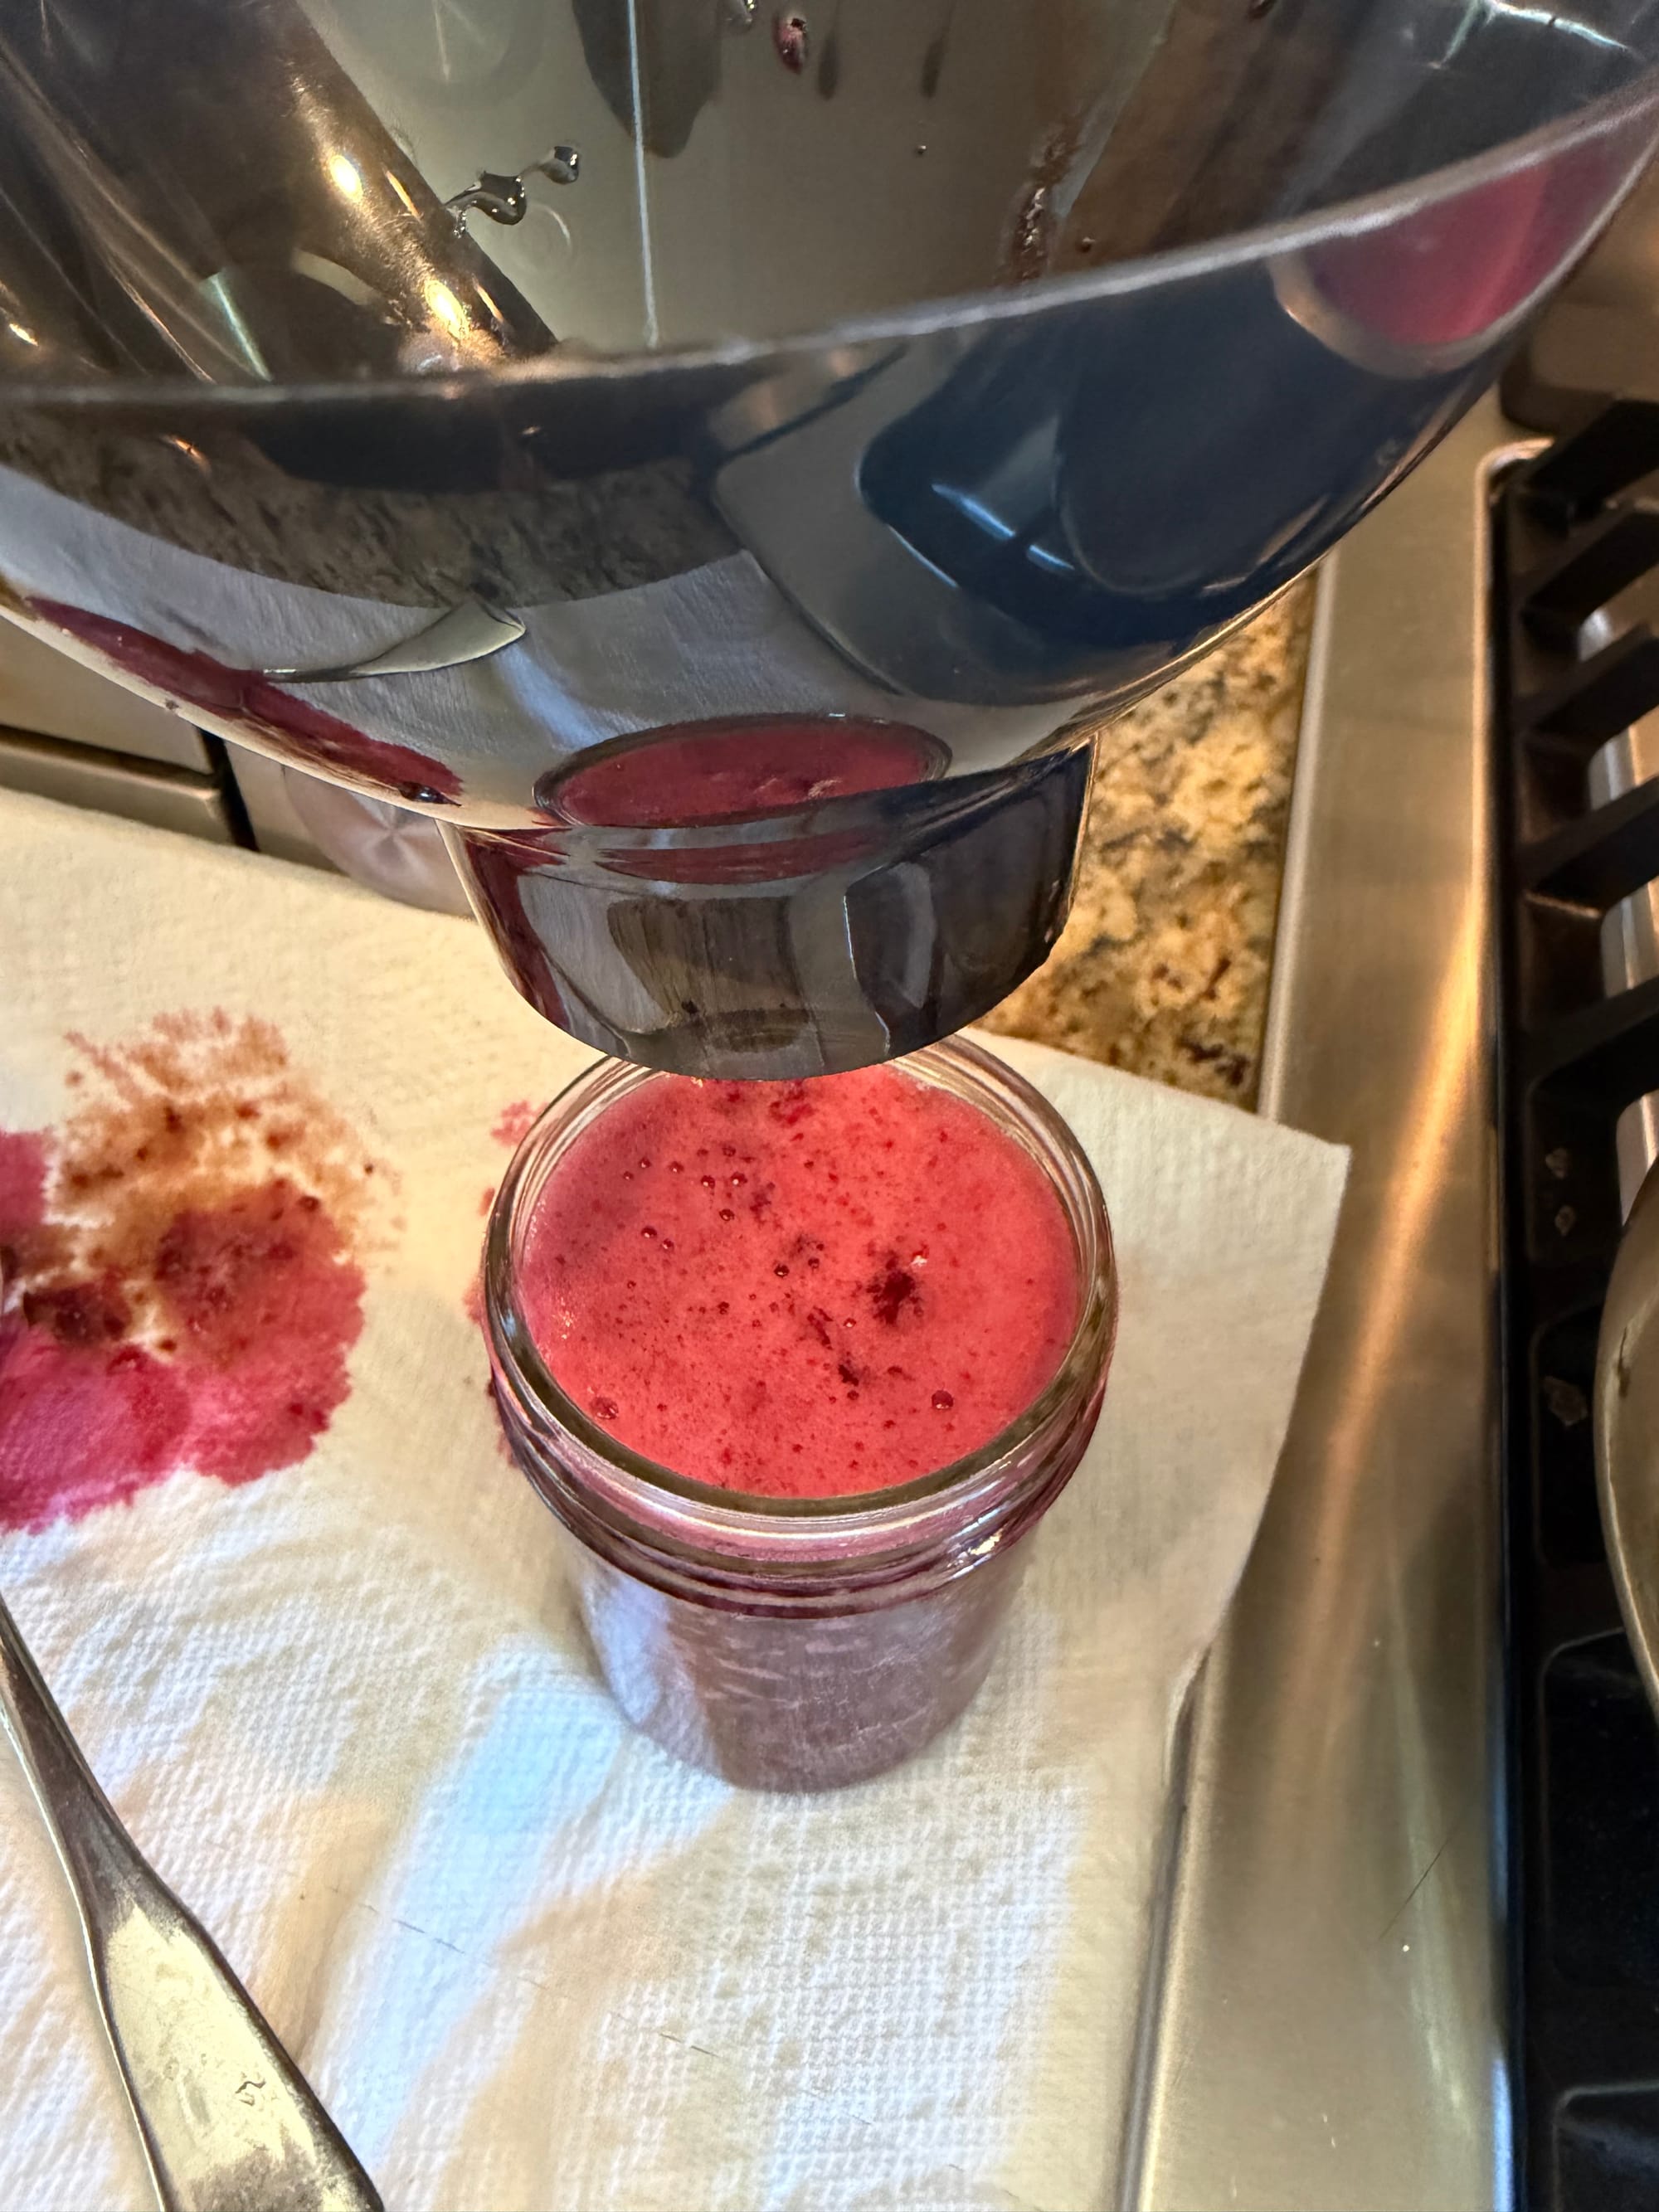
- Turn off heat, and using jar tongs pull out a jar from that water bath, empty it and place next to the sauce pan full of cherries. Using the jar funnel, spoon cherry mixture into jar, leaving 3/16" to 1/4" at top of jar. Make sure the top of jar is clean and dry. With a fork or pair of light tongs pluck a lid out of the smaller pan of simmering water, place it on the jar, and gently tighten down with the lid ring. Do not over tighten. Just make it snug. Repeat for remainder of jars.
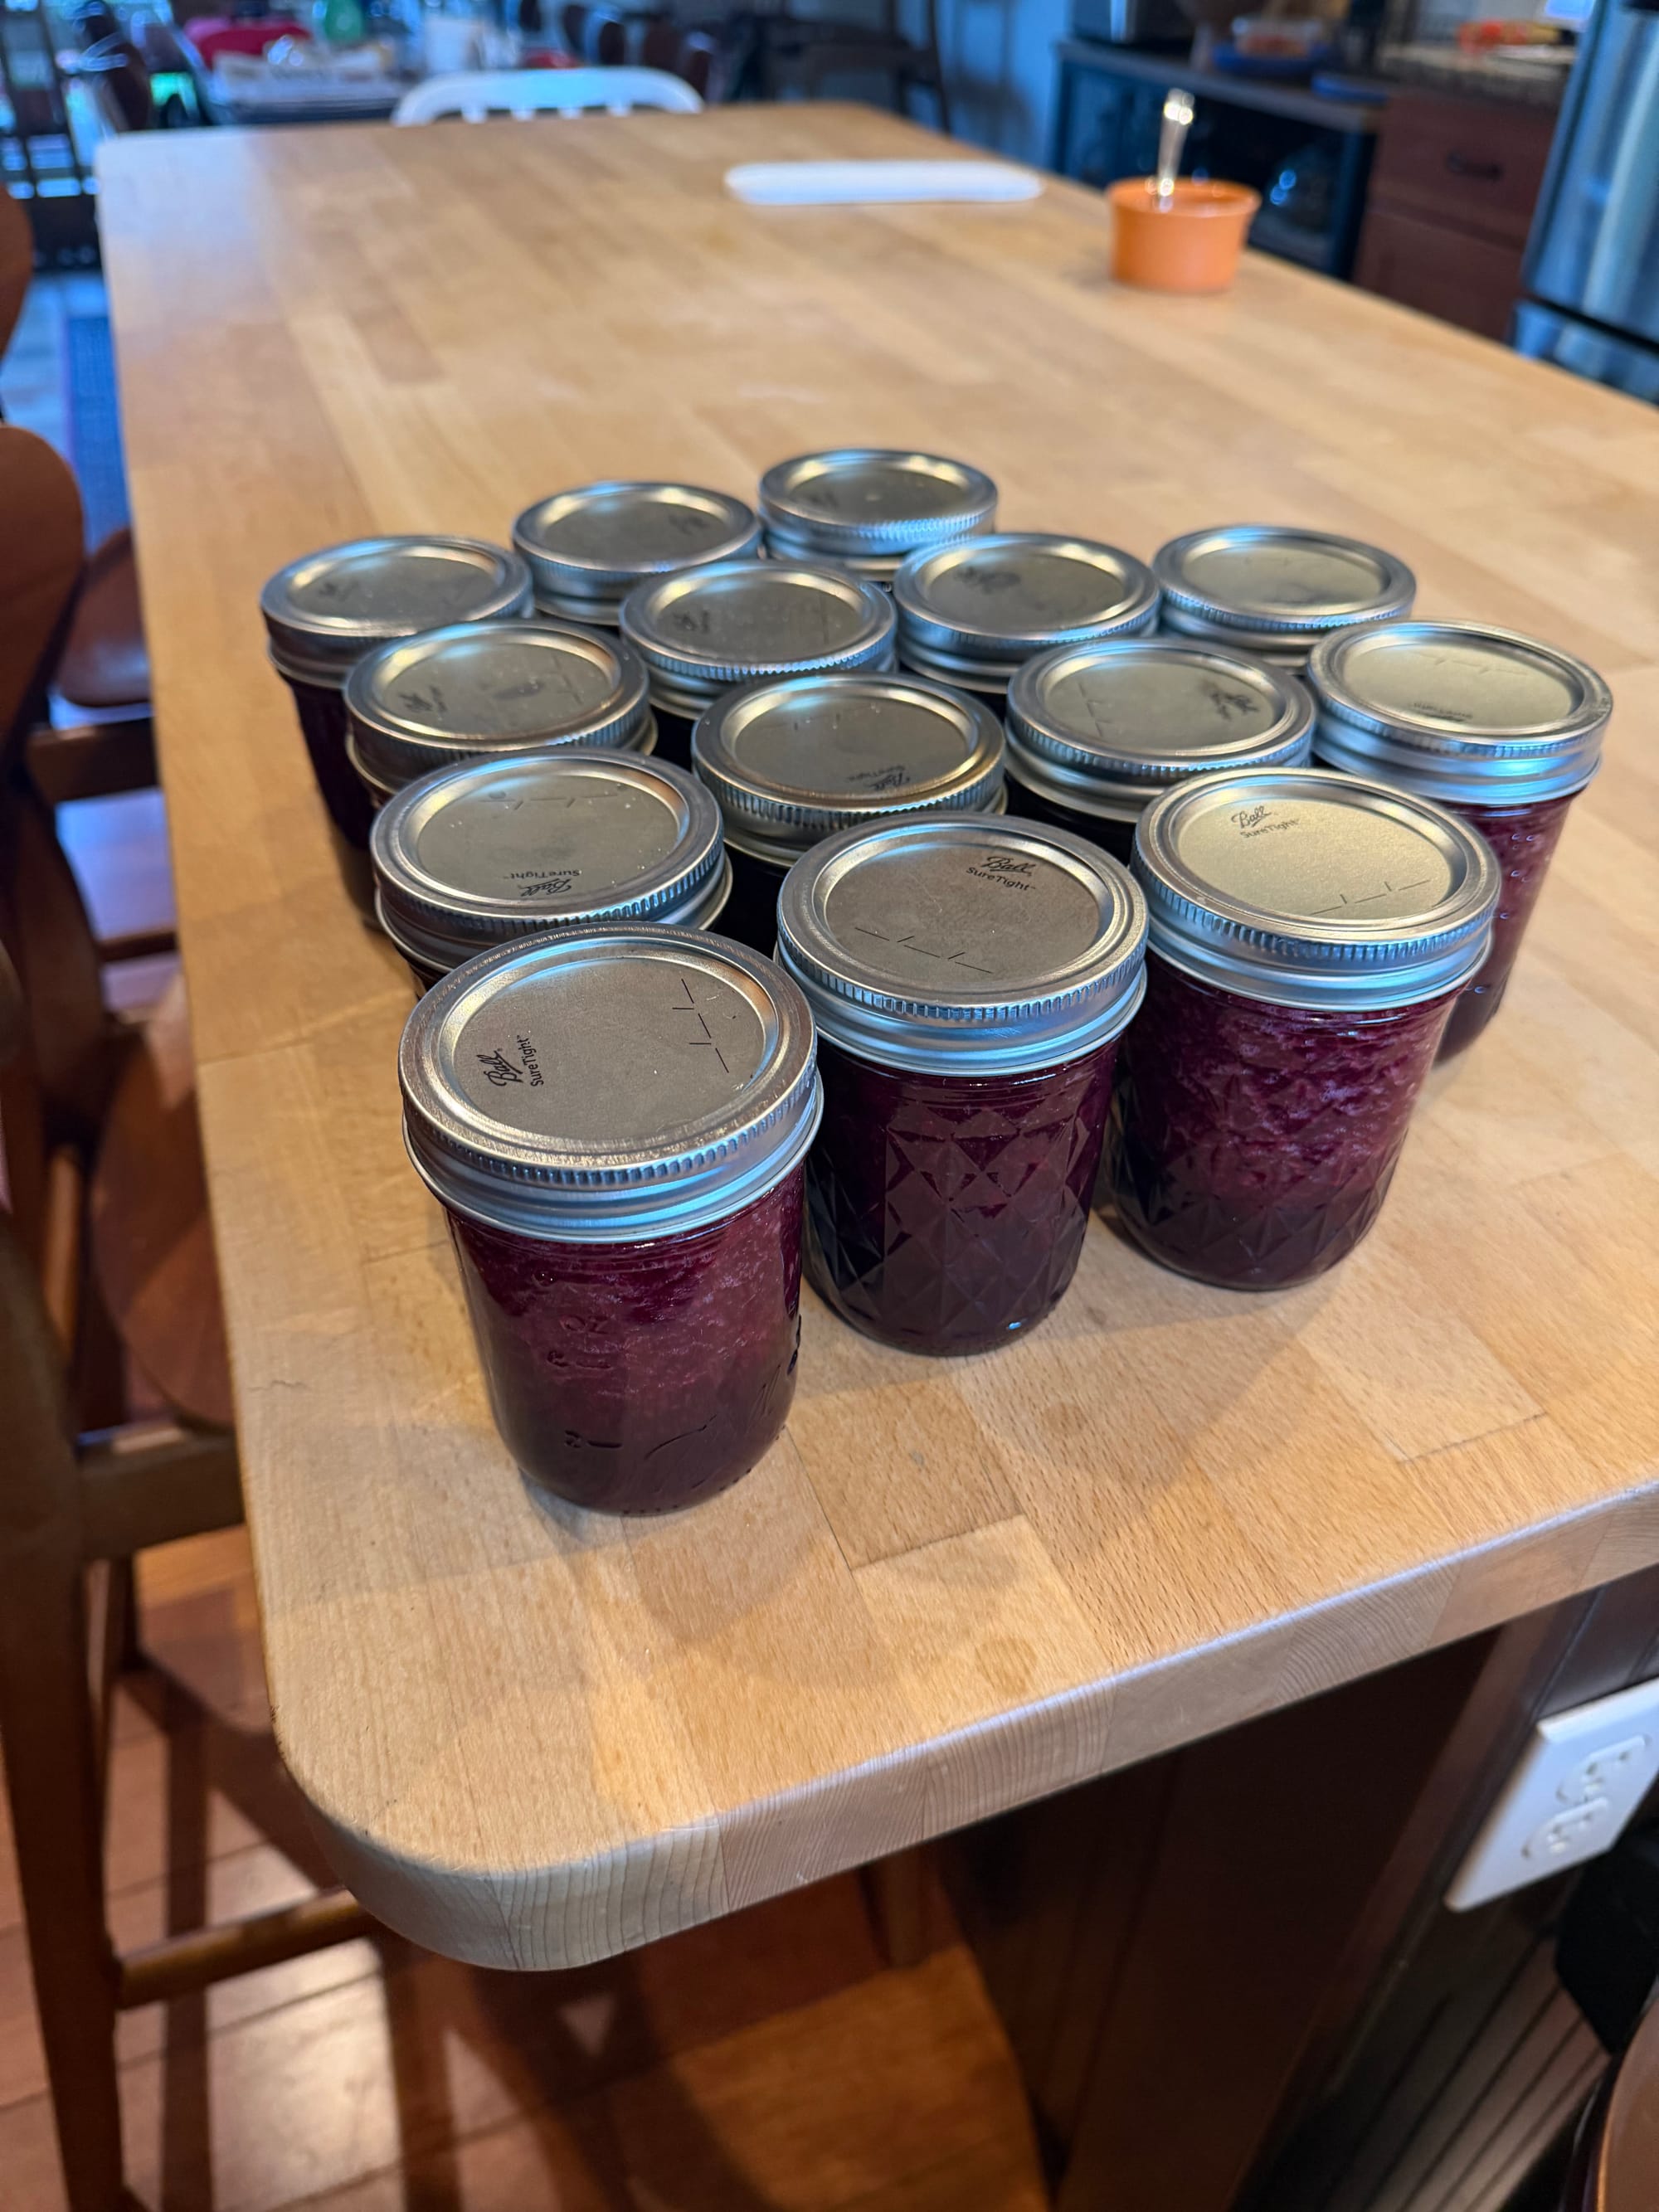
- Put full jars back into water bath and boil for 10 minutes. Pull jars out with jar tongs and let cool. Jars should come out of water bath with the lids very slightly puffed out, but as they cool the lids will pop/indent into the jar, sometimes with a clicking sound. This is how you know the jar is sealed.
Repeat this for as many batches as you want.
Pics from Jah Kitchen