Flatbread Update
Alright gang. Time to add flatbreads (+ tortillas and rotis) to your repertoire if they're not already a part of it. I try to make one of these to add to a meal every week or two, and with a little practice this can be done effortlessly. It helps (but not necessary) to have a stand mixer for some of these, and a simple styrofoam tortilla warmer will allow you to make most of these and keep them warm up for up to 30 minutes before serving for added flexibility.
As always, recipe downloads in Paprika format. For the Jahtreats Process click here.
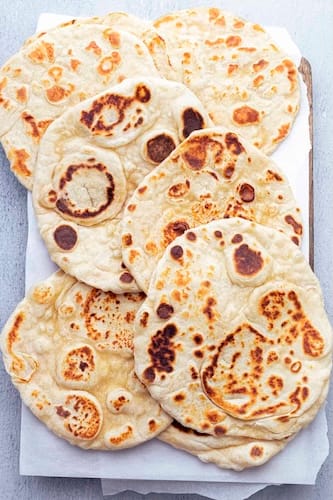
Yogurt Flatbread
Recipe
Prep Time: 15 minutes | Cook Time: 3 minutes | Servings: Yield: 6 flatbreads
Ingredients:
2 cups flour
1/2 tsp salt
3 tsp baking powder
1/2 tsp baking soda
1 2/3 cups Greek yogurt
Directions:
Simply mix all of the ingredients together to form a sticky dough. There is no need to knead this dough, that will make the dough too tough.
Divide into 6 equal sized balls.
On a well floured surface, roll each dough ball out into a thin 10 inch circle.
Heat a large cast iron skillet over medium heat for 10 minutes. There is no need to oil or butter the skillet. There are dry cooked.
Add one circle of dough to the dry skillet and cook for about a minute until the bottom browns and bubbles appear. flip and cook for an additional minute or so on the other side.
Repeat for the remaining dough circles.
Store any leftover flatbreads in an airtight plastic container or plastic bag. These are easily reheated in the cast iron pan for just a few seconds per side.
Tips
These are my go-to flatbreads for cooking on the grill. You can slap these right on to the grill when you're done with the main course and they'll be ready in less than 10 minutes. Of course the skillet method works well, too.
Yogurt can be tough to blend in without making a sticky mess, so I like to make these with a stand mixer and a dough hook. I put the dry ingredients in the bowl first, and then spoon in yogurt slowly until the dough is barely no longer sticky. This takes maybe 2-5 minutes. The amount of yogurt this takes varies with the type of yogurt. You'll need to roll these out on a well floured surface and it helps to have a bench scraper to scrape them up as you go along.
Muufo (Corn Flatbread)

Recipe
Muufo (Corn Flatbread)
Prep Time: 5 min | Cook Time: 1 hr 30 min | Total Time: 1 hr 35 min | Servings: 4 muufo
Ingredients:
1 3/4 cups/219 grams all-purpose flour
1/2 cup/67 grams pre-cooked white cornmeal (such as P.A.N.)
2 tablespoons cane or granulated sugar
1 teaspoon active dry yeast
1/2 teaspoon fine sea salt
2 tablespoons olive oil
Directions:
In a large bowl, whisk together the flour, cornmeal, sugar, yeast and salt. Add 1½ cups warm water and knead directly in the bowl with your hands until a sticky dough forms. Cover with plastic wrap or a clean dish towel and let the dough rise in a warm place for 1 hour or until it doubles in size and has tiny air pockets.
Heat up 1 teaspoon of oil over medium-high in a medium (10-inch) nonstick skillet. Set a small bowl of water handy for wetting your fingers as needed. Once the pan is warm, wet your fingers with the water, and pinch off about a quarter of the dough, pat it flat and place it in the skillet. Start spreading the dough outward with your fingers until you have a round shape that fills a majority of your skillet and the dough is approximately 6 to 7 inches round and 1/3 inch thick. Cover and cook, adjusting heat as needed, until there’s enough steam on your lid to make the pan start sizzling and the bottom of the muufo is crisped and browned in spots, about 2 minutes.
Take off the lid, drizzle or brush 1/2 teaspoon oil over the muufo, and flip it. Cook, uncovered, until the second side is done and the muufo is no longer doughy, 2 to 3 minutes. Transfer the muufo to a plate and repeat the process until all of your muufo is done. Muufo is best consumed while still warm.
Tips
These are like African yeasted pancakes via NYT cooking. Get the dough rising before you start the main course, and the timing should work out perfectly. The recipe calls for P.A.N. which can be hard to find- I also make it with masa harina, or even polenta.
I don't know what they're talking about with kneading this by hand- it's way too runny if made according to the recipe. I stir/fold this with a spatula and let it rise. When it's ready to cook, I dollop in on to the hot skillet with a large spoon coated in cooking spray, and spread it around the skillet to form a 1/4" pancake with the same spoon. The whole dipping your fingers in water the way they do it in Africa is a little precious for me.
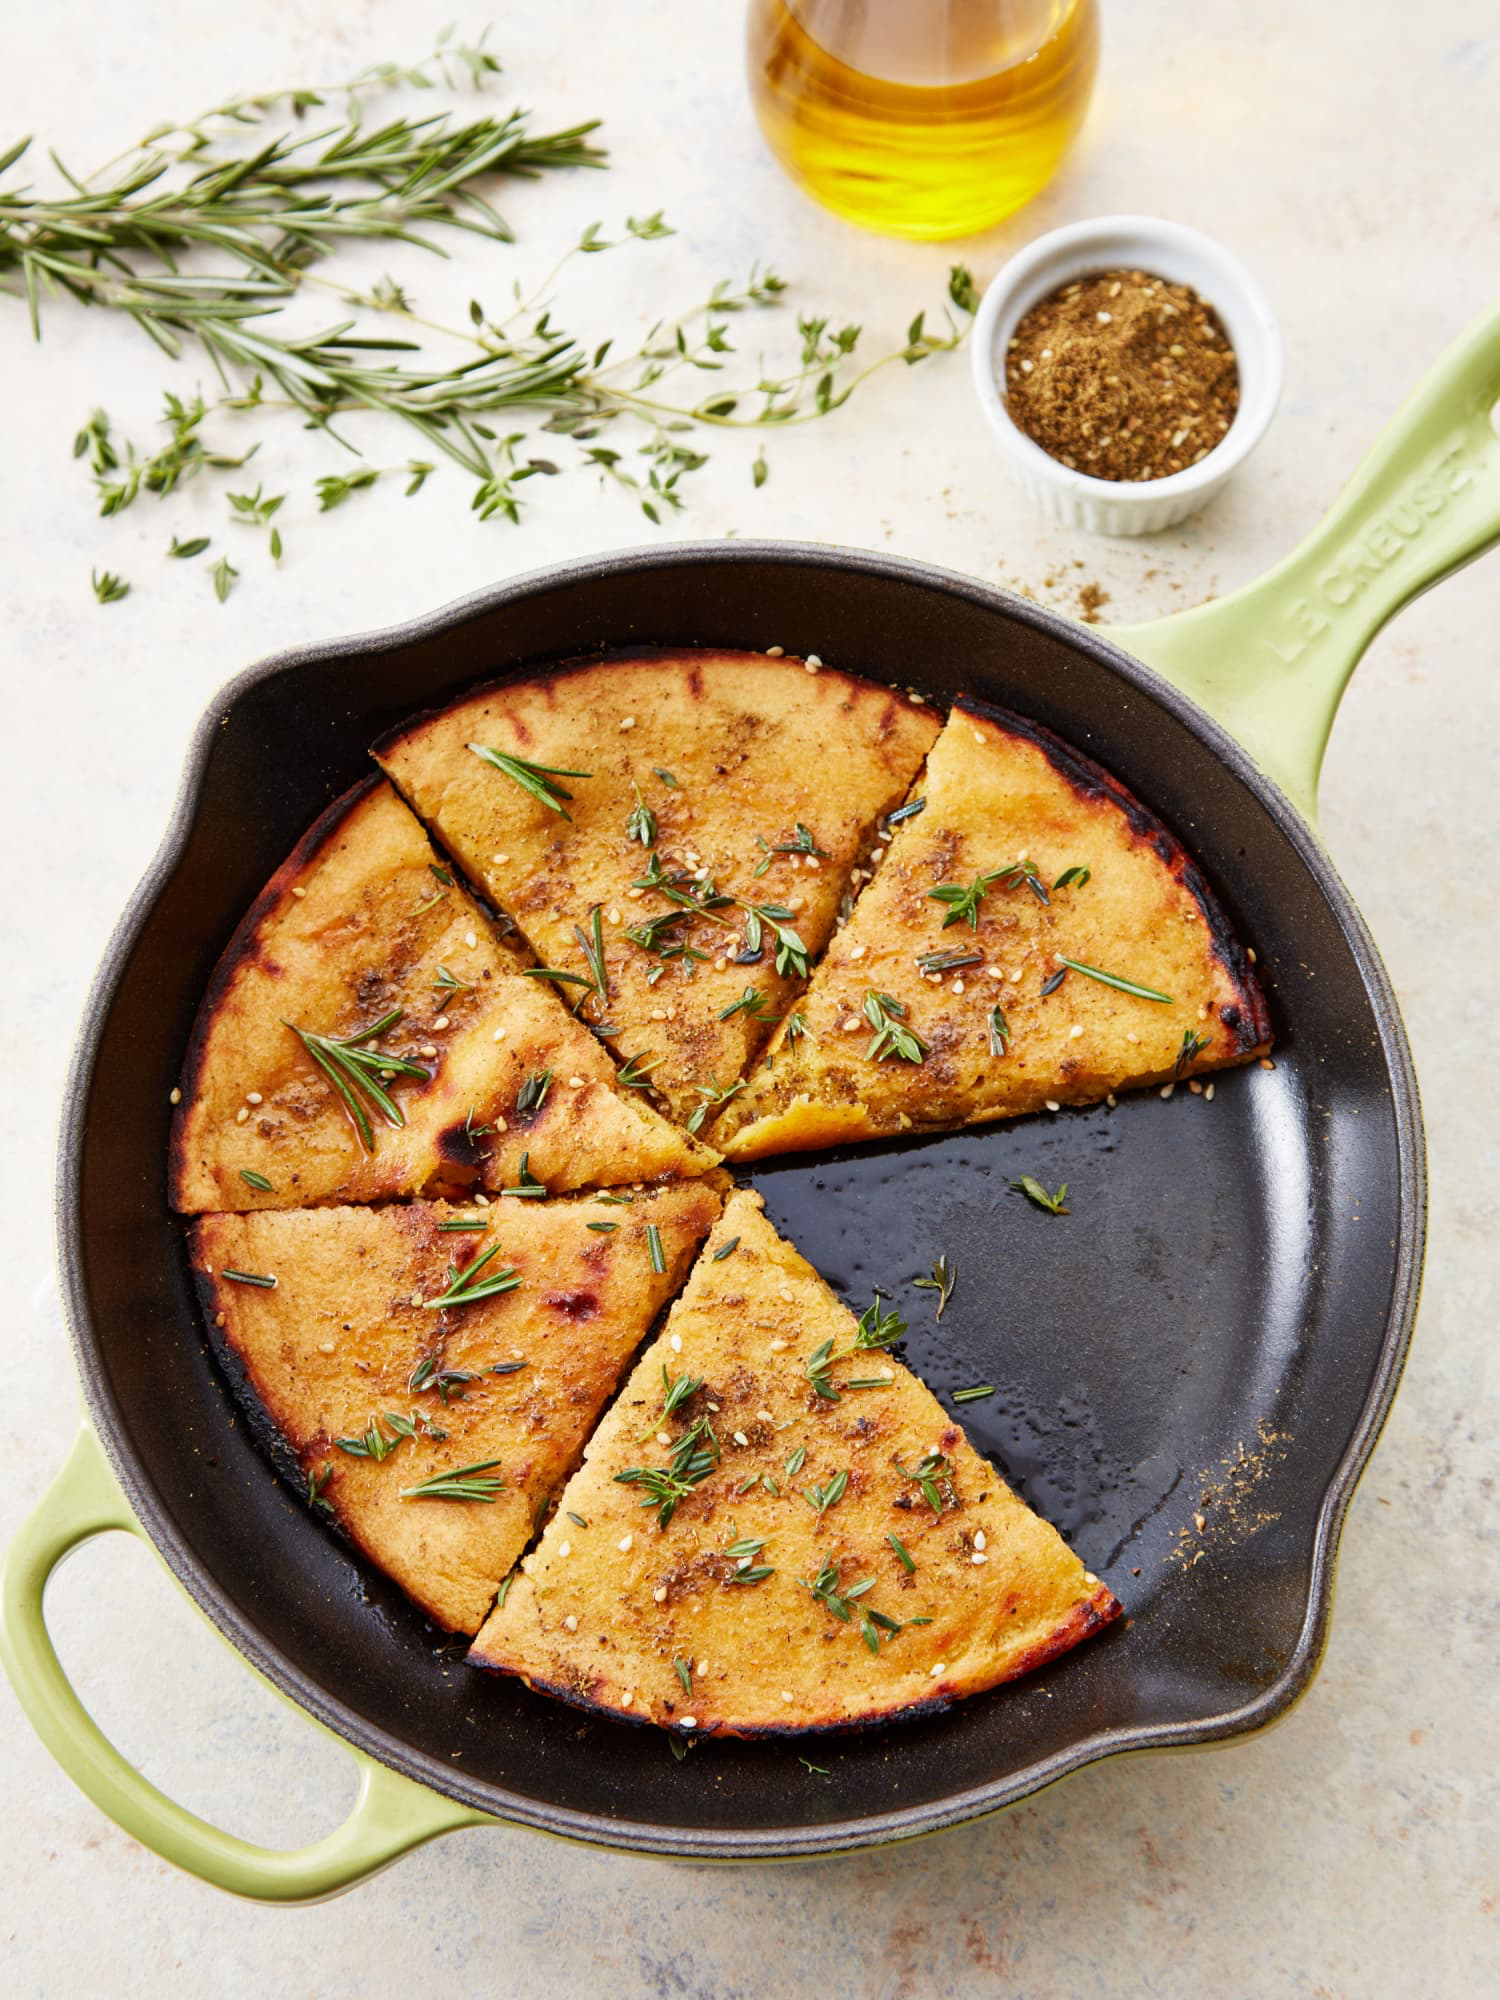
Socca Flatbread
Recipe
Socca Flatbread
Prep Time: 5 minutes to 10 minutes | Cook Time: 6 minutes to 8 minutes | Servings: Serves 4
Ingredients:
1 cup chickpea flour (4 1/2 ounces)
1 cup water
1 1/2 tablespoons extra-virgin olive oil, plus more for the pan and drizzling
1/2 teaspoon kosher salt
1 teaspoon za'atar (optional)
Directions:
Prepare the chickpea batter. Whisk the chickpea flour, water, olive oil, and salt together in a medium bowl until smooth. Let rest for 30 minutes to give the flour time to absorb the water.
Preheat the oven and then the pan. Arrange an oven rack 6 inches below the broiler element and heat to 450°F. About 5 minutes before the batter is done resting, place a 10-inch cast iron skillet in the oven and turn the oven to broil.
Add the batter to the prepared pan. Carefully remove the hot skillet from the oven. Add about 1 teaspoon of oil, enough to coat the bottom of the pan when the pan is swirled. Pour the batter into the center of the pan. Tilt the pan so the batter coats the entire surface of the pan, if needed.
Broil the socca for 5 to 8 minutes. Broil until you see the top of the socca begin to blister and brown, 5 to 8 minutes. The socca should be fairly flexible in the middle but crispy on the edges. If the top is browning too quickly before the batter is fully set, move the skillet to a lower oven rack until done.
Slice and serve. Use a flat spatula to work your way under the socca and ease it from the pan onto a cutting board. Slice it into wedges or squares, sprinkle with salt and pepper, and drizzle with more olive oil and sprinkle with the za'atar if using.
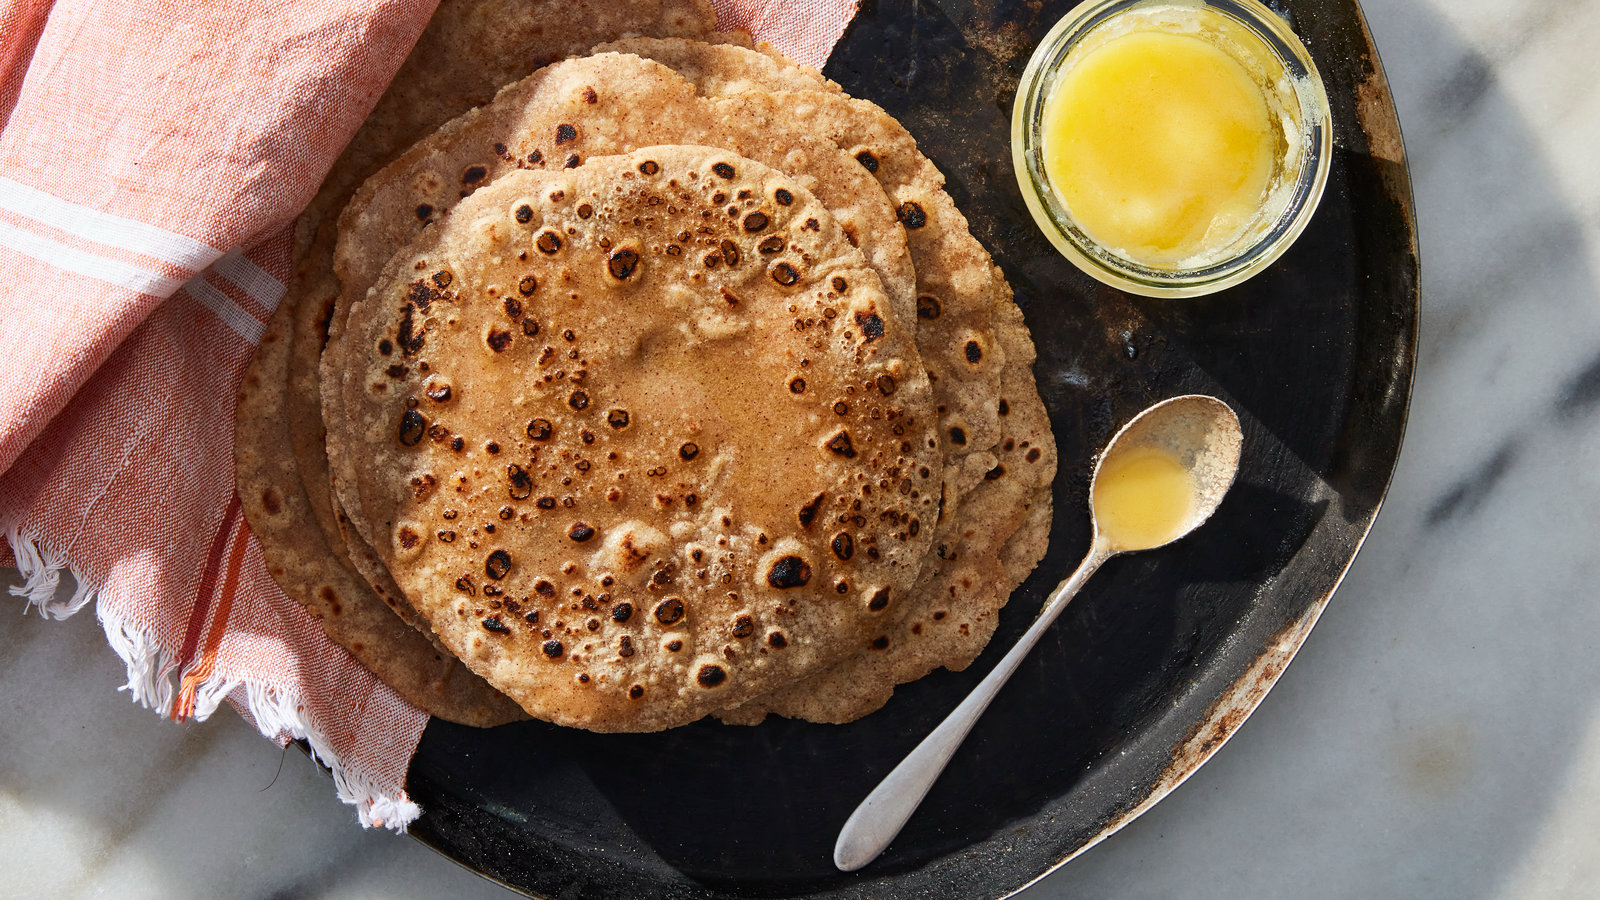
Roti
Recipe
Roti
Total Time: 30 min | Servings: 12 roti
Ingredients:
2 cups/240 grams atta (Indian whole-wheat flour), plus more for dusting (see Tip)
2 teaspoons neutral oil, such as grapeseed or canola
1/2 teaspoon kosher salt
Ghee (optional)
Directions:
In a large bowl, mix the flour, oil and salt with 3/4 cup lukewarm water. Knead directly in the bowl until smooth, about 5 minutes. If the dough starts to feel dry, add more water as needed, 1/2 tablespoon at a time. Divide the dough into 12 even balls, placing each ball back in the bowl. Cover the bowl loosely with plastic wrap. Let rest in a warm place for at least 30 minutes or up to 1 hour. The dough should be soft and spongy.
Lightly dust your work surface with flour and pat a ball into a thick disk. Use a rolling pin to evenly roll it into a thin, 5-inch-wide disk, flipping and flouring as needed.
Heat a large cast-iron skillet over medium-high. Put the disk in the hot pan. When bubbles start to form and the roti starts to turn white, about 30 seconds, flip it over to cook the other side. It should be puffy in places and freckled brown. If you want to fully puff the roti, use tongs to gently place it directly on a low gas flame for about 2 to 3 seconds, then quickly remove it. Use the back of a spoon to lightly coat one side of the roti with ghee, if you like, or leave plain, then tuck into a clean dishcloth to keep warm. Repeat with the remaining dough.
Tips
I was kind of obsessed with these for the past few months, and after watching an hour or so of various elderly Indian women preparing rotis on youtube, I arrived at a method that works for me.
First, I order real India atta from Amazon. Next, I make the dough in a stand mixer with a dough hook on low speed, slowly adding the water into the dry ingredients until a barely not-sticky dough forms. This takes around 3-5 minutes.
After letting the dough rest, I roll them all out at once with a rolling pin on a lightly floured surface, and stack them in a plate and cover them with a wet paper towel so I can cook them one after another. As they finish cooking I stack them in a tortilla warmer.
FYI- I tried making them in a tortilla press once because they seem very similar, but they really didn't puff up correctly while cooking- they just looked like tortillas and had the wrong texture.
Tortillas
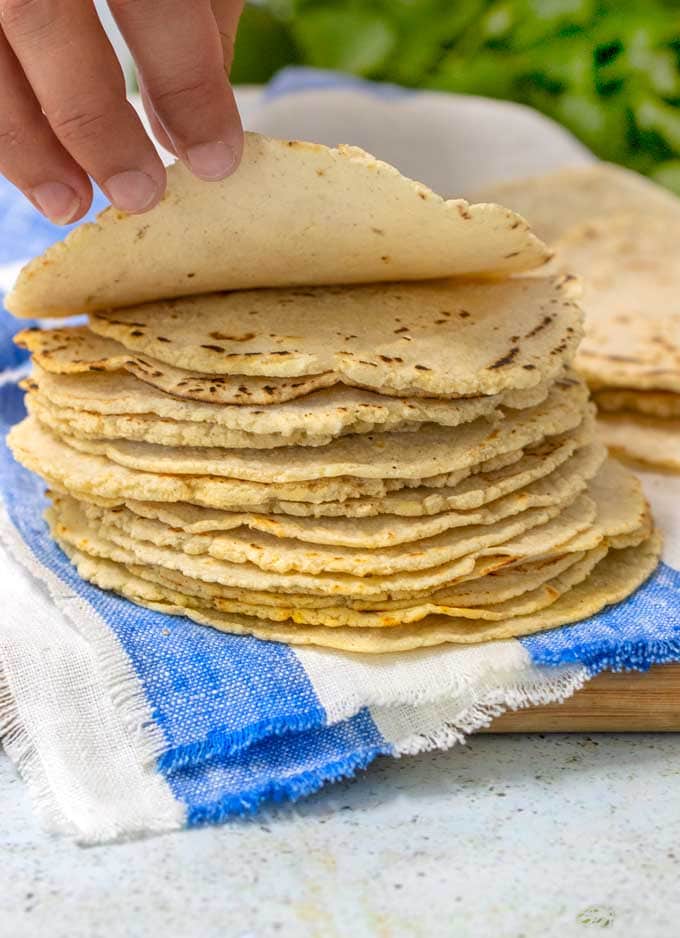
Tips
Not really a recipe here- just follow the instructions on the back of a bag of Bobs Red Mill Masa Harina (Pride of the mill!). Or whatever masa harina you want.
I make these exactly like rotis, except I use a tortilla press lined with a cut-up ziplock bag. Once again, the stand mixer with dough hook on low makes this really easy.
If you want a more flexible, tastier(?) tortilla, try a recipe using flour and shortening.